


Kingfun | King Fun - Link Vào Cổng Game Uy Tín #1 Việt Nam 2025


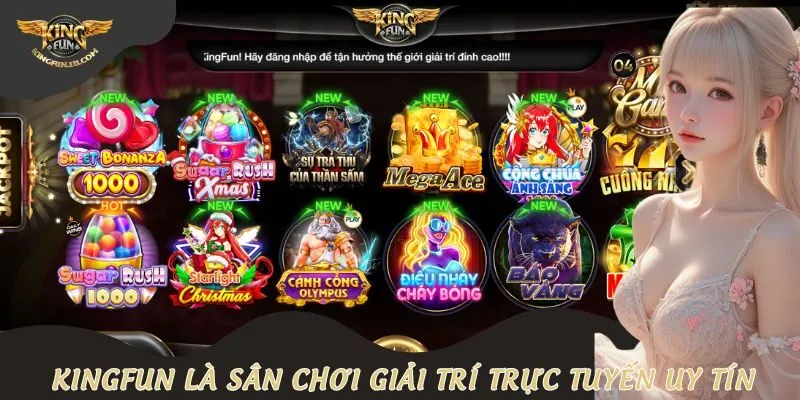
KINGFUN ra đời vào năm 2022, nhanh chóng trở thành một trong những sân chơi trực tuyến được đông đảo người yêu thích cá cược lựa chọn. Nền tảng này nổi bật với kho trò chơi đa dạng, từ casino, nổ hũ, bắn cá cho đến các kèo thể thao hấp dẫn, đáp ứng sở thích của mọi game thủ. Với giao diện thân thiện, công nghệ hiện đại cùng cam kết minh bạch và công bằng, KINGFUN mang đến trải nghiệm giải trí đỉnh cao, nơi người chơi có thể vừa thư giãn vừa thử thách tư duy chiến thuật của mình.
Khái quát về quá trình thành lập của KINGFUN
KINGFUN được ra đời với mục tiêu xây dựng một sân chơi cá cược trực tuyến chuẩn an ninh quốc tế theo ISO/IEC 27001 để đáp ứng nhu cầu giải trí đa dạng của người dùng toàn cầu. Ngay từ những ngày đầu, sân chơi Kingfun đã quy tụ đội ngũ chuyên gia công nghệ, cố vấn cá cược và nhà nghiên cứu thị trường giàu kinh nghiệm để kiến tạo nền tảng chuyên nghiệp.
Cổng game hoạt động hợp pháp dưới sự cấp phép của tổ chức quản lý cờ bạc uy tín CCGMC tại Campuchia, nên chúng tôi luôn đảm bảo tính minh bạch, an toàn và công bằng cho người chơi. Bên cạnh đó, thương hiệu không ngừng đầu tư vào công nghệ bảo mật tiên tiến và hợp tác cùng các nhà phát triển game hàng đầu thế giới như Playtech, Evolution Gaming, Pragmatic Play,… . Nhờ định hướng rõ ràng và chiến lược phát triển bền vững, KINGFUN đã nhanh chóng khẳng định vị thế, trở thành điểm đến đáng tin cậy của cộng đồng game thủ tại nhiều quốc gia ở Châu Á, trong đó có Việt Nam.
Quy định chung khi tham gia cá cược tại KINGFUN
Để đảm bảo môi trường giải trí công bằng, an toàn và minh bạch, mỗi người chơi tại https://partnerships.uk.com/ đều cần tuân thủ một số quy định cơ bản. Đây là những nguyên tắc quan trọng mà bất kỳ thành viên nào cũng nên ghi nhớ trước khi tham gia đặt cược:
- Độ tuổi hợp lệ: Chỉ những người từ 18 tuổi trở lên mới được phép đăng ký và tham gia các sản phẩm cá cược tại cổng game KINGFUN.
- Thông tin cá nhân chính xác: Thành viên phải cung cấp đầy đủ và trung thực các thông tin cá nhân khi đăng ký như họ và tên, số điện thoại. Việc sử dụng danh tính giả hoặc thông tin sai lệch sẽ bị từ chối và có thể dẫn đến khóa tài khoản.
- Tài khoản duy nhất: Mỗi người chơi chỉ được phép sở hữu và sử dụng duy nhất một tài khoản trên hệ thống. Trường hợp phát hiện nhiều tài khoản cùng một người sử dụng sẽ bị xử lý theo quy định.
- Nghiêm cấm gian lận: Mọi hành vi lợi dụng lỗ hổng hệ thống, thông đồng chơi theo nhóm hoặc sử dụng công cụ hỗ trợ nhằm trục lợi đều bị nghiêm cấm và sẽ bị xử lý nghiêm khắc.
- Đồng ý điều khoản: Khi tham gia, thành viên được xem như đã mặc định đồng ý với tất cả điều khoản, chính sách bảo mật và quy định do KINGFUN ban hành.
Điểm danh những sản phẩm chất lượng của KINGFUN
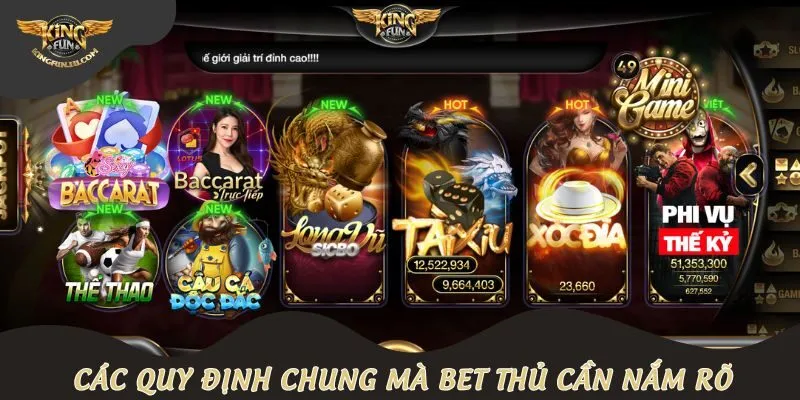
KINGFUN không chỉ là điểm đến cá cược đơn thuần mà còn là một thế giới giải trí đa dạng với hàng loạt sản phẩm hấp dẫn. Dưới đây là những lựa chọn được người chơi yêu thích và đánh giá cao nhất hiện nay tại nền tảng:
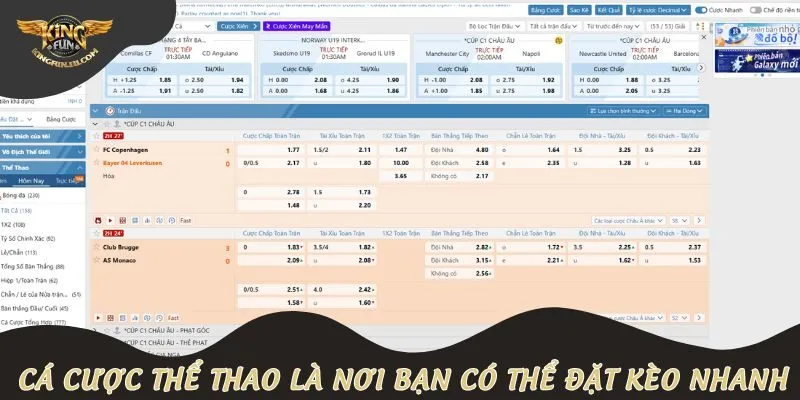
Cá cược thể thao
Tại KINGFUN, bet thủ có thể tham gia đặt cược các trận bóng đá lớn nhỏ với tỷ lệ kèo được cập nhật liên tục theo thời gian thực. Hệ thống hỗ trợ nhiều giải đấu hàng đầu như Ngoại hạng Anh, La Liga, Serie A, Bundesliga và Champions League. Giao diện cược dễ sử dụng, hiển thị rõ ràng từng loại kèo như kèo châu Á, kèo tài xỉu, kèo tỷ số chính xác. Ngoài ra, còn có chức năng xem trực tiếp và đặt cược cùng lúc, giúp người chơi theo dõi trận đấu và đưa ra quyết định nhanh chóng.
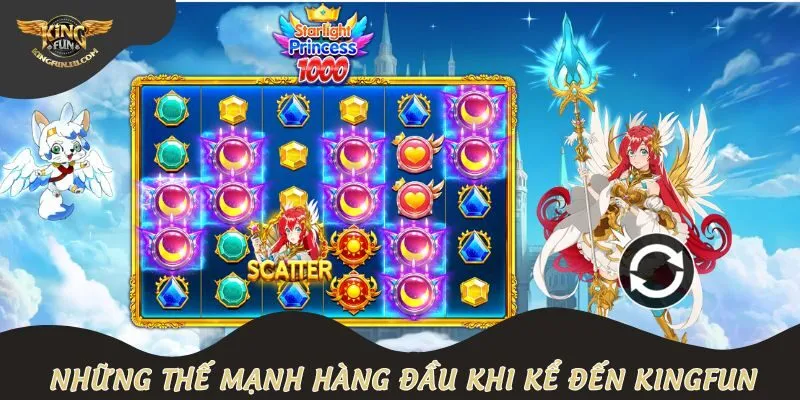
Quay hũ đổi thưởng
Sảnh Slot game tại đây mang đến hàng trăm trò chơi quay hũ với nhiều chủ đề hấp dẫn như Ai Cập cổ đại, cướp biển, kim cương, động vật, siêu anh hùng…Tất cả các slotgame tại cổng game Kingfun đều tuân thủ kiểm định RNG, cam kết minh bạch trong từng trò chơi. Song song đó, game còn có hiệu ứng âm thanh hình ảnh sống động, luật chơi đơn giản và hướng dẫn rõ ràng để anh em hiểu rõ cách tham gia.
Người tham gia chỉ cần chọn mức cược, nhấn quay là có cơ hội nhận về phần thưởng lớn. Hệ thống còn có tính năng tự động quay và tích điểm thưởng, phù hợp cho cả người mới lẫn game thủ lâu năm muốn “săn” jackpot nhanh chóng.
Sòng bài trực tuyến
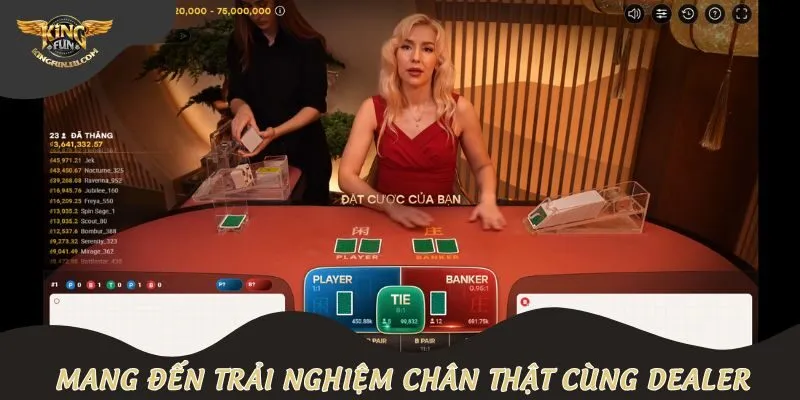
KINGFUN tích hợp sòng bài trực tuyến với hàng loạt trò chơi nổi tiếng như Baccarat, Rồng Hổ, Xì Dách, Poker Texas Hold’em… Tất cả đều được phát sóng trực tiếp với dealer thật, tương tác thời gian thực. Hệ thống của chúng tôi tuân thủ kiểm định RNG nên anh em cứ yên tâm trong khi chơi game trực truyến tại cổng game.
Ngoài ra, giao diện chia bài mượt mà, camera sắc nét nhiều góc quay giúp người chơi theo dõi rõ từng lượt chơi. Bet thủ có thể đặt nhiều cửa cùng lúc, thay đổi mức cược linh hoạt trong thời gian chờ. Đây là lựa chọn lý tưởng cho những ai yêu thích cảm giác đánh bài thật ngay tại nhà.
Game bài đổi thưởng
Chúng tôi hiện đang sở hữu kho game bài đổi thưởng quen thuộc với người Việt như Tiến Lên Miền Nam, Phỏm, Mậu Binh, Ba Cây, Liêng… Giao diện được thiết kế gọn gàng, thao tác mượt, phù hợp với cả người mới bắt đầu. Mỗi sản phẩm đều có hướng dẫn chi tiết, hỗ trợ chơi nhanh, cược thấp – thưởng cao. Người tham gia có thể chọn chơi giải trí hoặc chơi ăn tiền thật, tạo phòng riêng hoặc vào bàn ngẫu nhiên đều được. Đây là lựa chọn hấp dẫn với ai thích phong cách truyền thống, dễ chơi, dễ trúng.
Ưu điểm nổi bật khi chơi tại sân chơi KINGFUN
Giữa hàng loạt cổng game trực tuyến hiện nay, partnerships.uk.com vẫn luôn giữ vững vị thế nhờ sở hữu những ưu thế vượt trội về công nghệ, dịch vụ và độ uy tín trên thị trường. Đây là những điểm tốt giúp chúng tôi được đông đảo game thủ Việt tin chọn:
- Có giấy phép hợp pháp từ chính phủ Campuchia, đảm bảo rõ ràng về pháp lý và giám sát
- Hệ thống được xây dựng chuẩn quốc tế theo tiêu chuẩn ISO 9001 tạo nên môi trường chuyên nghiệp cho người chơi
- Cung cấp kèo nhà cái đa dạng, tỷ lệ cao hơn mặt bằng chung, hoàn trả mỗi ngày không giới hạn
- Có giấp phép PCI DSS hợp pháp để xử lý các giao dịch thống qua thẻ thẻ credit card, visa,..Ngoài ra thanh toán theo các phương thức cũ như chuyển khoản ngân hàng, ví điện tử momo, VN Pay, thẻ cào điện thoại,.. vẫn được chúng tôi hỗ trợ.
- Ưu đãi cho người mới, tặng thưởng theo sự kiện, nạp hàng ngày, điểm tích lũy đổi quà,…
- Đội ngũ hỗ trợ nhiệt tình qua nhiều kênh như livechat, Fanpage, Telegram,…
Những ưu đãi cược thủ nhận được khi tham gia KINGFUN
Kingfun không ngừng triển khai các ưu đãi đa dạng nhằm gia tăng quyền lợi cho người chơi. Ở thời điểm hiện tại, cổng game đổi thưởng mang đến nhiều chương trình khuyến mãi khác nhau, giúp thành viên có thêm cơ hội trải nghiệm và nhận giá trị hấp dẫn khi tham gia.
- Khuyến mãi cho tân binh đăng ký tài khoản lần đầu.
- Ưu đãi hoàn trả cho hội viên không may thua cược/
- Các thành viên có bậc cao sẽ nhận được quyền lợi đặc biệt mỗi ngày và tỷ lệ hoàn trả hấp dẫn.
Hướng dẫn các bước tiên quyết khi tham gia tại KINGFUN
Để bắt đầu trải nghiệm các dịch vụ cá cược hấp dẫn tại KINGFUN, người chơi cần thực hiện bước đăng ký và đăng nhập tài khoản. Quy trình này rất dễ dàng, chỉ mất vài phút là bạn đã có thể tham gia:
Hướng dẫn đăng ký tài khoản
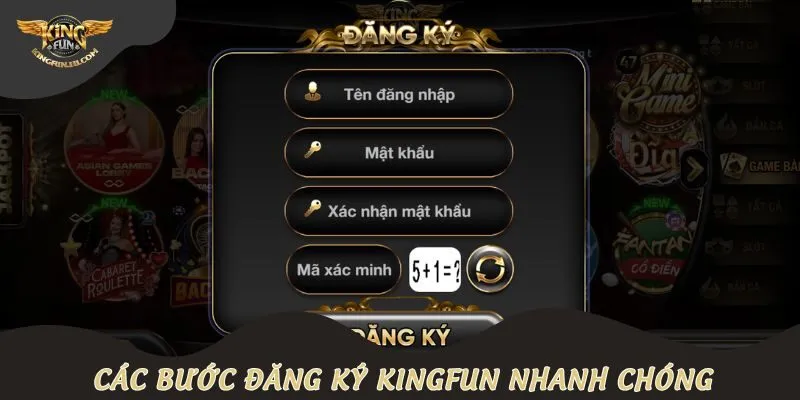
Để bắt đầu hành trình giải trí tại KINGFUN, người chơi cần tạo một tài khoản cá nhân. Việc đăng ký cực kỳ đơn giản, chỉ với vài thao tác dưới đây là bạn đã có thể gia nhập thế giới cá cược trực tuyến sôi động:
- Bước 1: Nhập tên đăng nhập mà bạn thích hoặc muốn sử dụng. Hãy chọn tên ngắn gọn, dễ nhớ và không trùng lặp với người khác.
- Bước 2: Thiết lập mật khẩu an toàn. Tốt nhất nên kết hợp chữ in hoa, chữ thường, số và ký tự đặc biệt để tăng tính bảo mật.
- Bước 3: Xác nhận lại mật khẩu thêm một lần nữa để đảm bảo không xảy ra sai sót khi đăng nhập.
- Bước 4: Nhập mã xác minh theo yêu cầu từ hệ thống. Đây là bước bảo mật giúp đảm bảo tài khoản thuộc quyền sở hữu của bạn.
- Bước 5: Nhấn chọn “Hoàn tất đăng ký” và chờ vài giây, tài khoản sẽ được kích hoạt thành công.
Hướng dẫn đăng nhập tài khoản
Sau khi đã có tài khoản, người chơi chỉ cần thực hiện vài bước đơn giản để đăng nhập vào hệ thống và bắt đầu đặt cược, khám phá kho game đa dạng tại KINGFUN. Dưới đây là hướng dẫn chi tiết từng thao tác giúp tân binh cũng có thể nhanh chóng gia nhập:
- Bước 1: Truy cập trang chủ KINGFUN từ điện thoại hoặc máy tính của bạn.
- Bước 2: Chọn nút “Đăng nhập”, thường nằm cạnh nút “Đăng ký” trên giao diện chính.
- Bước 3: Nhập đúng hoàn toàn tên đăng nhập và mật khẩu bạn đã tạo từ trước đó.
- Bước 4: Nhấn nút đăng nhập và chờ hệ thống chuyển hướng đến giao diện người dùng cá nhân của bạn.

Điều kiện để tham gia giải trí tại KingFun là gì?
Kingfun luôn mở cửa chào đón người chơi mới tham gia cộng đồng cá cược, tuy nhiên nền tảng cũng đưa ra một số điều kiện nhất định nhằm đảm bảo sự an toàn và tính công bằng cho tất cả thành viên.
Độ tuổi đúng quy định tại KingFun
Người tham gia cần đủ 18 tuổi, có đầy đủ năng lực pháp lý và nhận thức rõ ràng, đồng thời không vi phạm pháp luật hay có tiền án, tiền sự.
Tuân thủ điều khoản
Người chơi cần chấp thuận và tuân thủ đầy đủ các điều khoản, quy định của nhà cái nhằm đảm bảo tính công bằng và xây dựng môi trường cá cược an toàn, lành mạnh.
Tạo tài khoản trước khi tham gia
Mỗi người chơi chỉ được phép sử dụng một tài khoản duy nhất nhằm ngăn chặn gian lận và đảm bảo sự công bằng trong quá trình tham gia cá cược.
Kết luận
Mong rằng những thông tin trên đã giúp bạn hiểu rõ hơn về cổng game KINGFUN và các dịch vụ giải trí đa dạng mà nền tảng này mang lại. Nếu bạn đang tìm kiếm một địa chỉ cá cược uy tín, an toàn và dễ sử dụng, đây chắc chắn là lựa chọn đáng để trải nghiệm.

